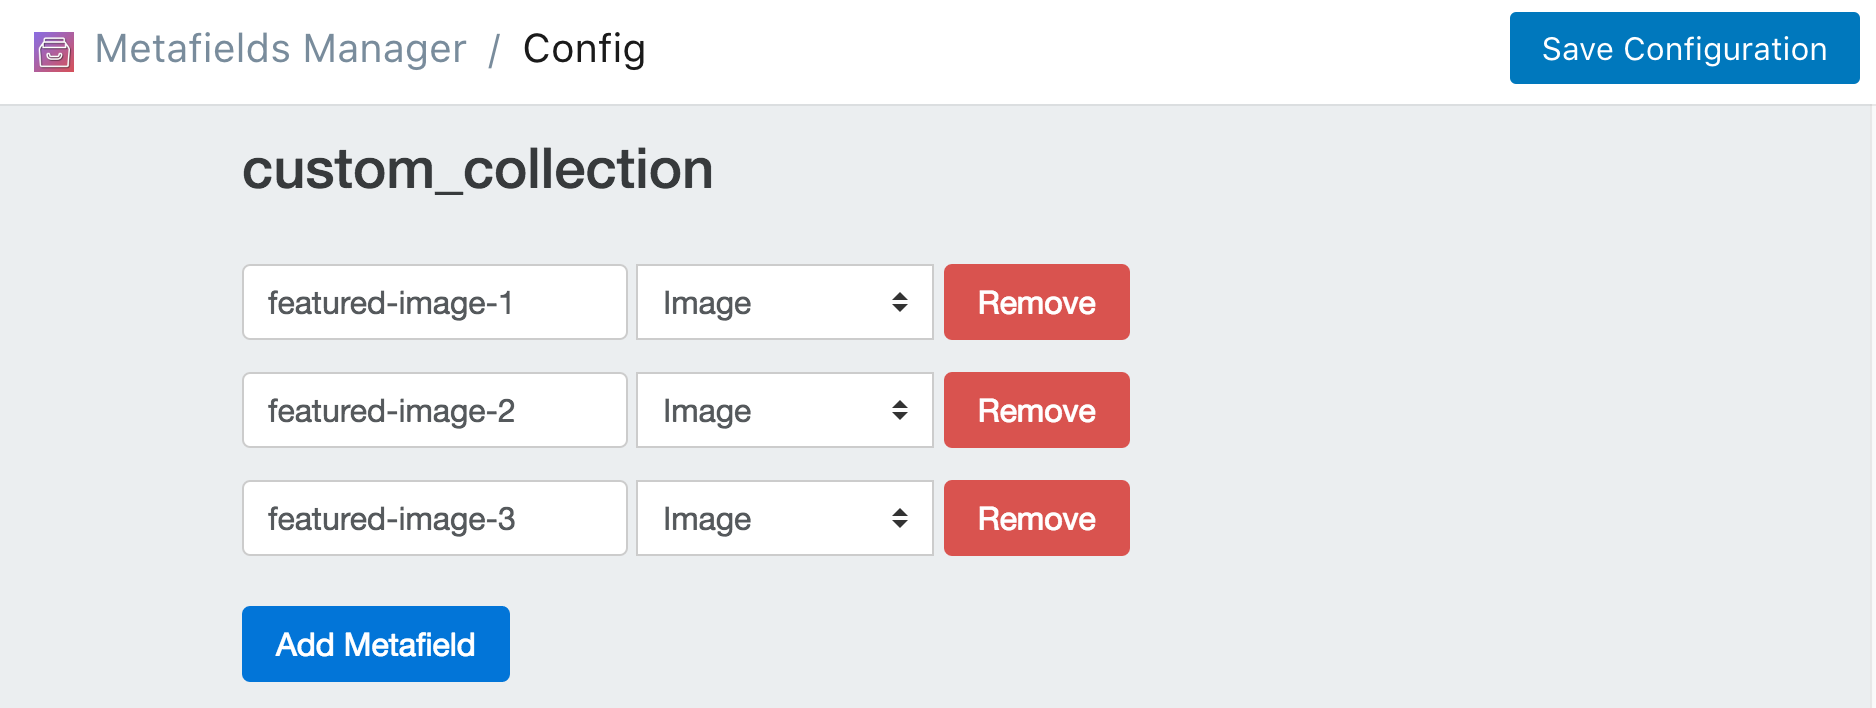
To start go to Metafield Configuration and click "Add Metafield" under collection.
Enter "featured-image-1" for metafield handle, then select "Image" from the dropdown menu. Repeat this process but change the name of the metafield handle to "featured-image-#" for each additional featured image that you want to add. For this example we will use 3 featured images. Your configuration should look similar to the screenshot below:

Click Save Configuration and click Go Back to Homepage.
Find the collection you want to add metafields to. You can do this in 2 different ways.
One way is through the metafields app. Click on Add Metafields. Then select collection from the dropdown menu and click Search.
The other way is through the Shopify dashboard. Navigate the collection as you normally would through the shopify dashboard (click collection find the collections you want to edit and click the link.). Once you're on the collection page in the Shopify dashboard, click the "..." button on the top right and select Add Metafields to collection.

Once you've navigated to the collection that you want to add metafields to, you simply need to add the featured images. Go through the form and upload three featured images then click Save Metafields.
You now have three featured images associated with that particular collection. If you scroll down, you can see how they can be accessed within a .liquid template.
Now that you have the data set up. You can create the .liquid snippet that will display the featured images. You can download the .liquid code snippet here. Be sure to include the snippet on your .liquid template by adding this line:
{% include "mm-featured-images" %}
Or view the snippet below:
Note: If you use Shopify's CDN to store images you can resize them to any dimension according to their size parameters. You just need to add _WIDTHxHEIGHT to the end of the url.
For example:
https://cdn.shopify.com/s/files/header.png becomes https://cdn.shopify.com/s/files/header_600x600.png for a 600x600 version.